The Jurik Trend Strength indicator for Metatrader 4 is an interesting oscillator that measures trend strength and reveals the prevailing trend at the same time.
The indicator appears in a bottom chart window as a colored buy/sell oscillator solely based on trend strength.
For scalping, utilize this technical tool during the London and American trading sessions.
A green indicator line indicates bullish trend strength with a red line indicates bearish trend strength.
Buy & sell signal:
- Open a buy trade when the overall trend is upward and the Jurik line turns back to green color.
- Open a sell trade when the overall trend is downward and the Jurik line turns back to red color.
- Close the open trade when an opposite trading signal gets printed on the chart.
From our testings, the indicator does not repaint and works for any currency pair and time frame without slowing down the trading platform.
It can be used as a standalone technical tool or it can be combined with other technical indicators and trading strategies.
Try first on a demo account until you fully understand how this indicator works!
Free Download
Download the jurik-trend-strength.mq4 indicator file (MT4)
Indicator Chart Example

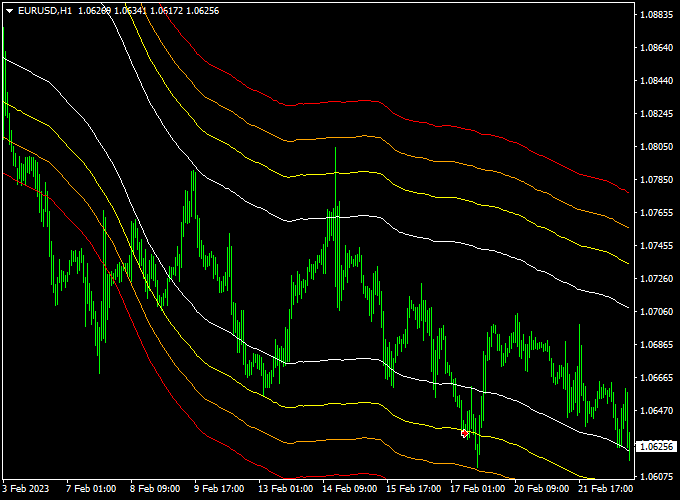
The picture above shows the indicator attached to the Euro / U.S. Dollar technical chart.
How to install the Jurik Trend Strength Forex indicator to your Metatrader 4 platform?
- Download the jurik-trend-strength.mq4 indicator file here and save it to your computer
- Open your Metatrader 4 platform
- Click on “File” (top menu) and then select “Open Data Folder” from the drop down menu
- Click on “MQL4” and open the “Indicators” folder
- Paste the indicator file in this folder
- Restart Metatrader 4 and you’re ready to start using the indicator
How to edit the indicator?
- Attach the indicator to any trading chart of your preference
- Right click in the chart and select “Indicators List” from the drop down menu
- Select the indicator from the list and click on “Edit”
- Now you can start editing the indicator (Inputs, Colors and Visualization)
- Final step, click on the “OK” button to save the new configuration